Tutorial: Setting up a development environment with Lima
The new Apple Silicon Macs (M1, M1 Pro, M1 Ultra, M2 and so on) are great machines, and you may like macOS a lot (well, I’m a Manjaro fanboy who also have a MacBook Air, and I love it). However, that new ecosystem Mac/ARM may be frustrating if you need to develop for the good old Linux/x86-64:
- Intel Macs could dual-boot macOS and Linux (and even Windows!). Apple Silicon Macs can’t;
- Ok, the former is not entirely true because the Asahi Linux team is working hard to run Linux natively on Apple Silicon. However, despite of their amazing progress, it’s not 100% yet, and it is a ARM Linux;
- VirtualBox for Apple Silicon basically doesn’t exist so far (well, there’s a beta that couldn’t do almost nothing and it disappeared from the download page);
- Parallels is there, but you need to pay for it;
- There’s QEMU. Don’t get me wrong, QEMU is amazing, but it can be really boring to set up and run through CLI (compared to VirtualBox);
- There’s also UTM, a front-end for QEMU, but it doesn’t run x86 virtual machines, and it’s not so easy to install an ARM distro.
But hey, don’t throw away your beautiful Mac, there’s an option for you: Lima. It is a QEMU wrapper that allows you to easily create ARM and x86-64 Linux virtual machines.
But it has some drawbacks:
- it is CLI tool, it doesn’t have a GUI;
- you can run some GUI apps, but it it’s not a good experience;
- the interoperability with macOS is meh.
In this tutorial I’ll show you how to setup a x86-64 Linux instance on Lima, and
how to use it in your development environment. Note that you’ll need to run
commands on your Mac host and on the Linux guest, so I’ll represent their
prompts as mac$ and linux$ to make clear where you are running each command.
Installing Homebrew
If you have Homebrew already installed, you can skip this
section. But if you don’t have, I strongly recommend you to install it, as it is
a package manager and installer for Mac, just like apt-get/dpkg is for
Debian/Ubuntu/Mint and pacman is for Arch/Manjaro.
You can install Homebrew by running on your terminal:
mac$ /bin/bash -c "$(curl -fsSL https://raw.githubusercontent.com/Homebrew/install/HEAD/install.sh")
Be careful!
Don’t copy and paste anything on your terminal unless you trust the person who told you to do that!
If you don’t trust me, copy that directly from https://brew.sh/ !
Installing Lima
Ok, once you have Homebrew installed, run:
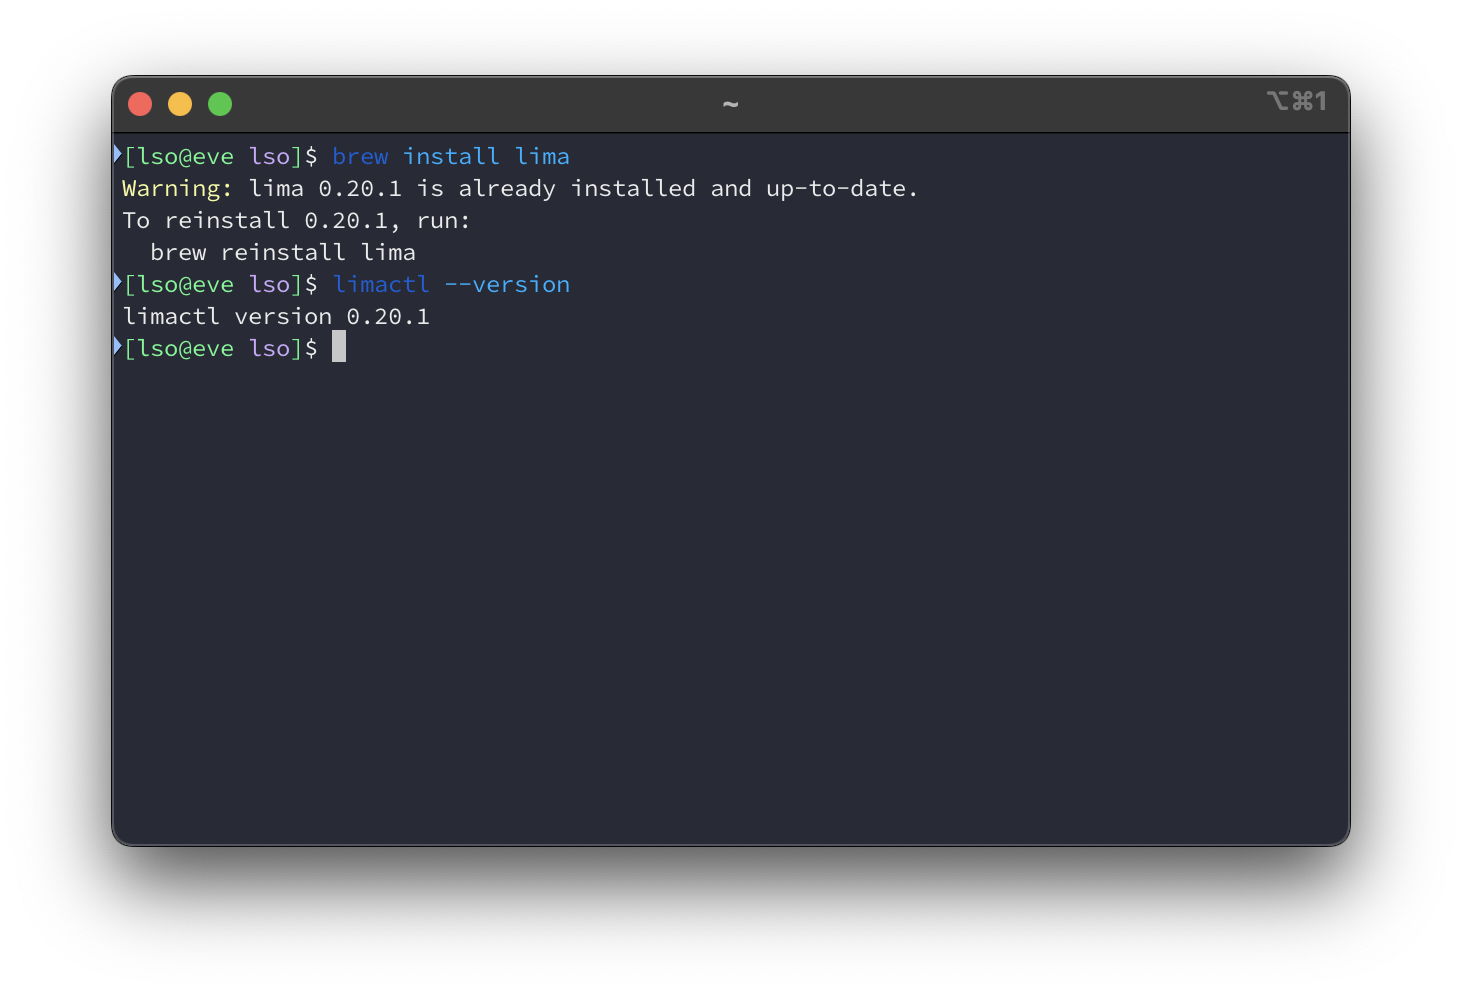
mac$ brew install lima
You can check if the installation was successful by running
mac$ limactl --version
Lima overview
As I said before, Lima is a QEMU wrapper, and it manages virtual machines (also
called instances here).
limactl is the command that you use to interact with Lima. Here are some
useful limactlsubcommands (you can see more of them by running
limactl --help):
limactl list: list VMs;limactl create: create a VM;limactl shell: run a new shell in a VM;limactl start: start a VM;limactl stop: stop a VM.
If you run limactl list you won’t see nothing so far. This is because you
don’t have any instance, so you’ll need to create one with limactl create.
After creating one, you can start it with limactl start. If you don’t need to
run it anymore, you can stop it with limactl stop (Lima instances can waste
you battery…). After starting, if you run limactl shell you’ll run a shell
(probably Bash) on your VM.
Note that only closing the shell doesn’t stop the instance. Also note that these are VMs with persistent storage, you won’t lost you files and configurations after stopping them.
Creating a x86-64 instance
By default, if you run limactl create on a Apple Silicon, Lima will create an
ARM instance. So, you’ll need to specify that you want to create a x86-64
instance with --arch=x86-64:
mac$ limactl create --arch=x86_64 template://debian
As you may suspect, we’re creating a Debian virtual machine, but you can choose whatever distro you like (if they support x86-64) if they are in this list. Just make sure that it has a x86-64 image! And you can have both x86-64 and ARM instances!
Now run:
mac$ limactl list
If everything is ok you may see your new debian instance there!
Configuring the SSH for you instance
As I said before, the interoperability between the Mac host and the Lima instances is… weird. Lima can read the files from the Mac host but can’t write them. The Mac hosts can’t read and write the Lima instance files (ok, there’s an exception for this but it’s not recommended).
But we can set up SSH in order to have a interoperability here. Run:
mac$ limactl edit debian
It will run a text editor (the one set on the environment variable EDITOR, you
can change it by your favorite such as vim, emacs, code and so one before
running that).
Add this to the end of the file:
ssh:
  localPort: 2022
This will configure the default SSH port. You can change the default SSH port as you wish.
Add the VM as a SSH host on .ssh/config
This is only needed if you are using Visual Studio Code, but I recommend to do it anyway.
Add to your ~/.config/ssh_config the following lines:
Host lima-debian
  HostName localhost
  Port 2022
This will identify your VM for SSH as lima-debian. Change the port to the one
that you chose in the previous step.
Running you instance
Ok, let’s run your Debian x86-64 instance for the first time. Run:
mac$ limactl start debian
As it is the first time, it make take a few minutes to finish. If everything is ok, run:
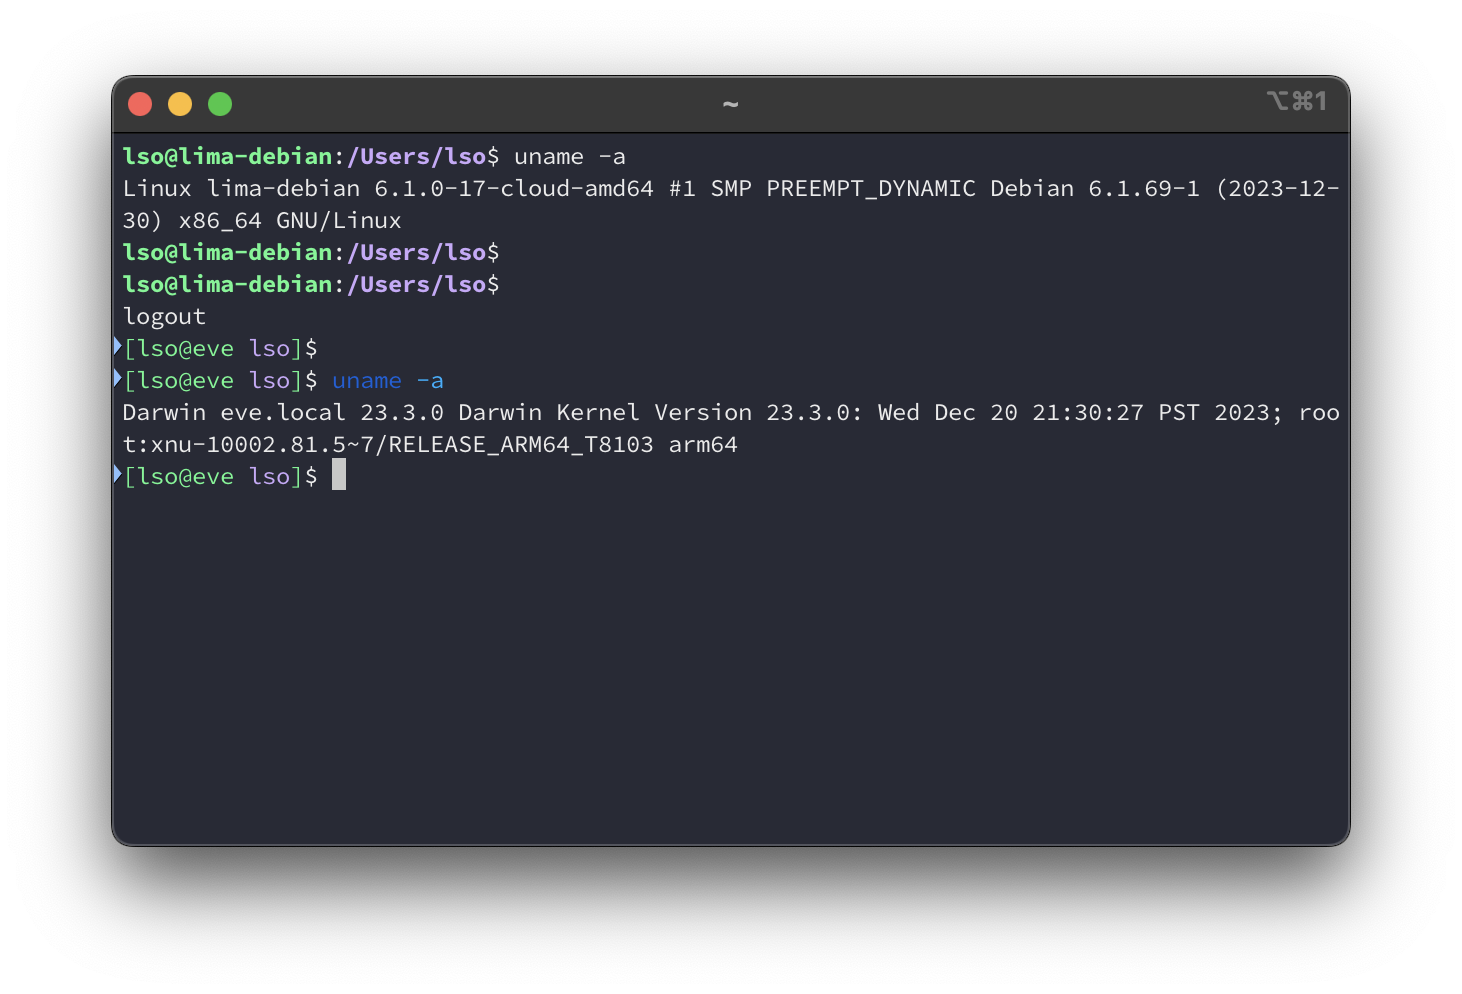
mac$ limactl shell debian
This will open a shell (in this case, Bash) in your instance. If you don’t believe that it’s a x86-64 Linux, you can run this to see it:
linux$ uname -a
Finishing SSH configuration
SSH will allow us to access files from both Linux guest and the Mac host. For this, you’ll need a SSH key configured on your Mac. If you don’t have, follow these instructions to generate one.
Tip:
Consider using Secretive. It is an open-source app for Mac that stores the SSH private key in the Secure Enclave, so no one (even you) has access to it (even you). It is protected by your user’s password or Touch ID.
But of course, you can see the public key!
Copy the SSH public key stored in ~/.ssh/id_rsa.pub on your Mac. Back to the
VM, paste it at the end of ~/.ssh/authorized_keys. This authorizes your Mac
user to access your Linux VM through SSH.
Accessing using your text editor
Visual Studio Code
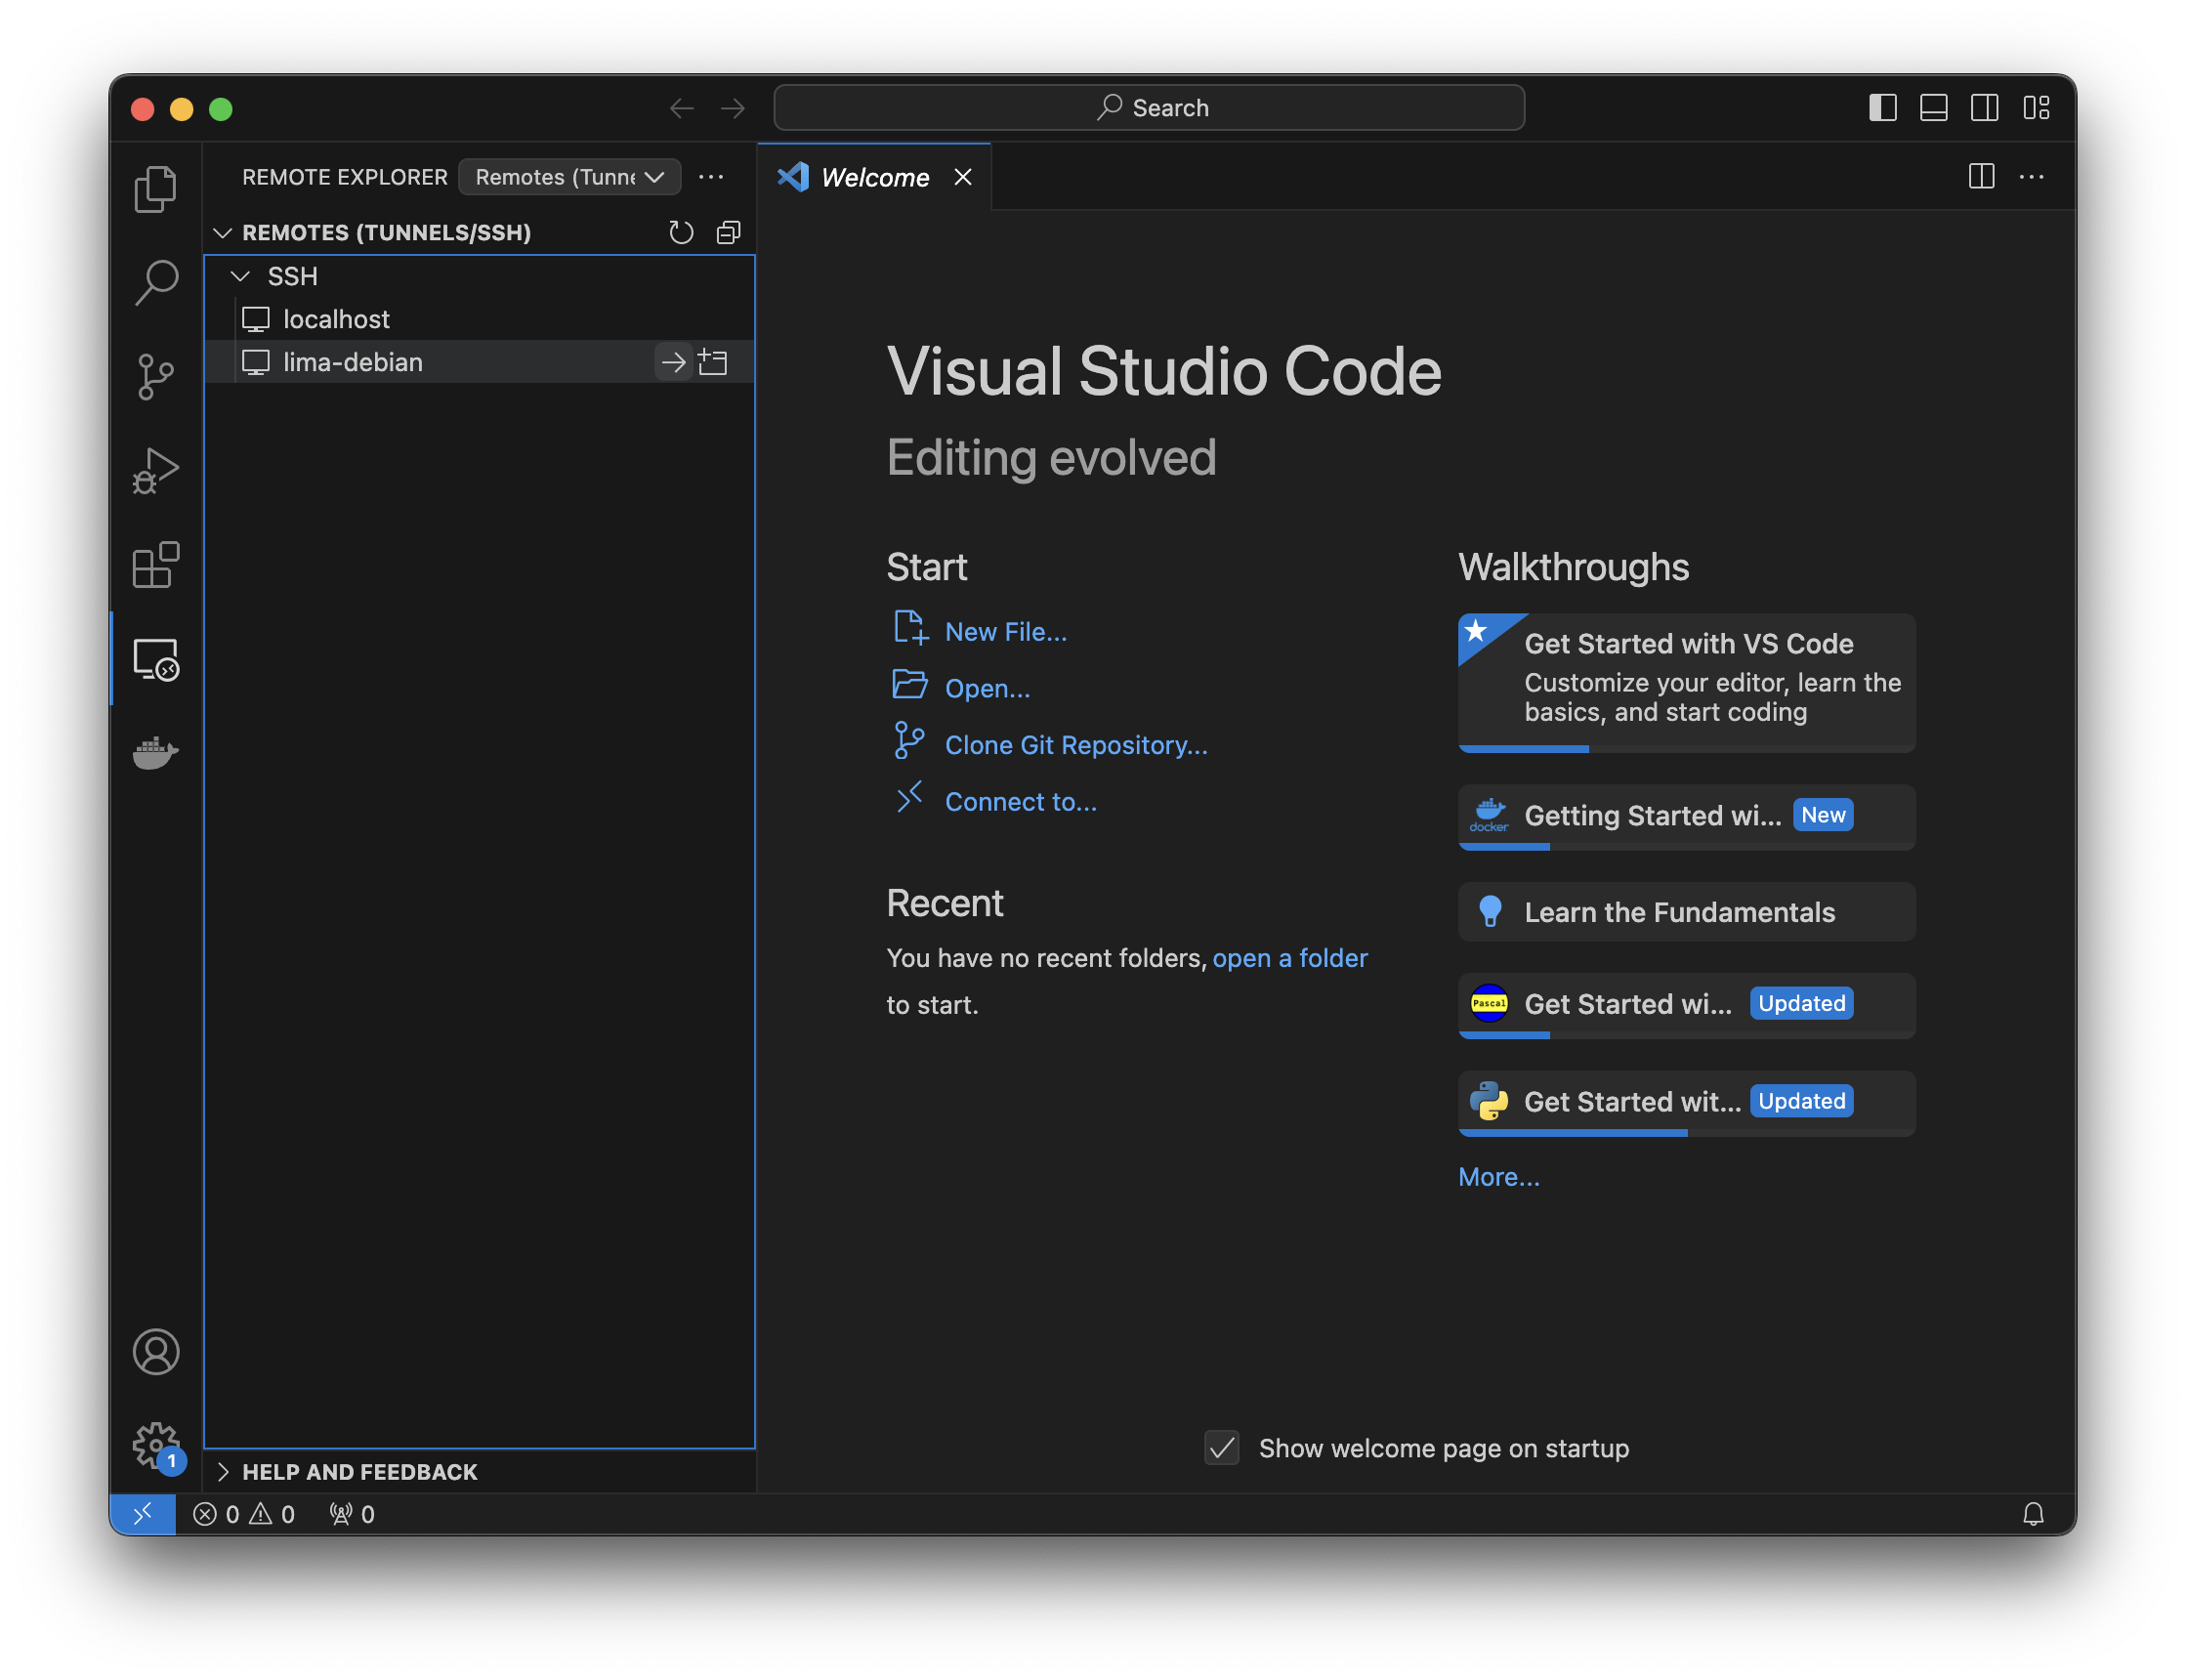
If you are using Visual Studio Code, install the extension Remote - SSH.
After installing it, you’ll see on your left a new icon, called “Remote
Explorer”. Click on it, and you’ll see lima-debian as a remote. Hover you
mouse over it, and you’ll see an arrow. Click on it, and it will connect to your
VM.
Now, you can use VSCode with the files inside the the VM as you would do if you were working on you host.
Emacs
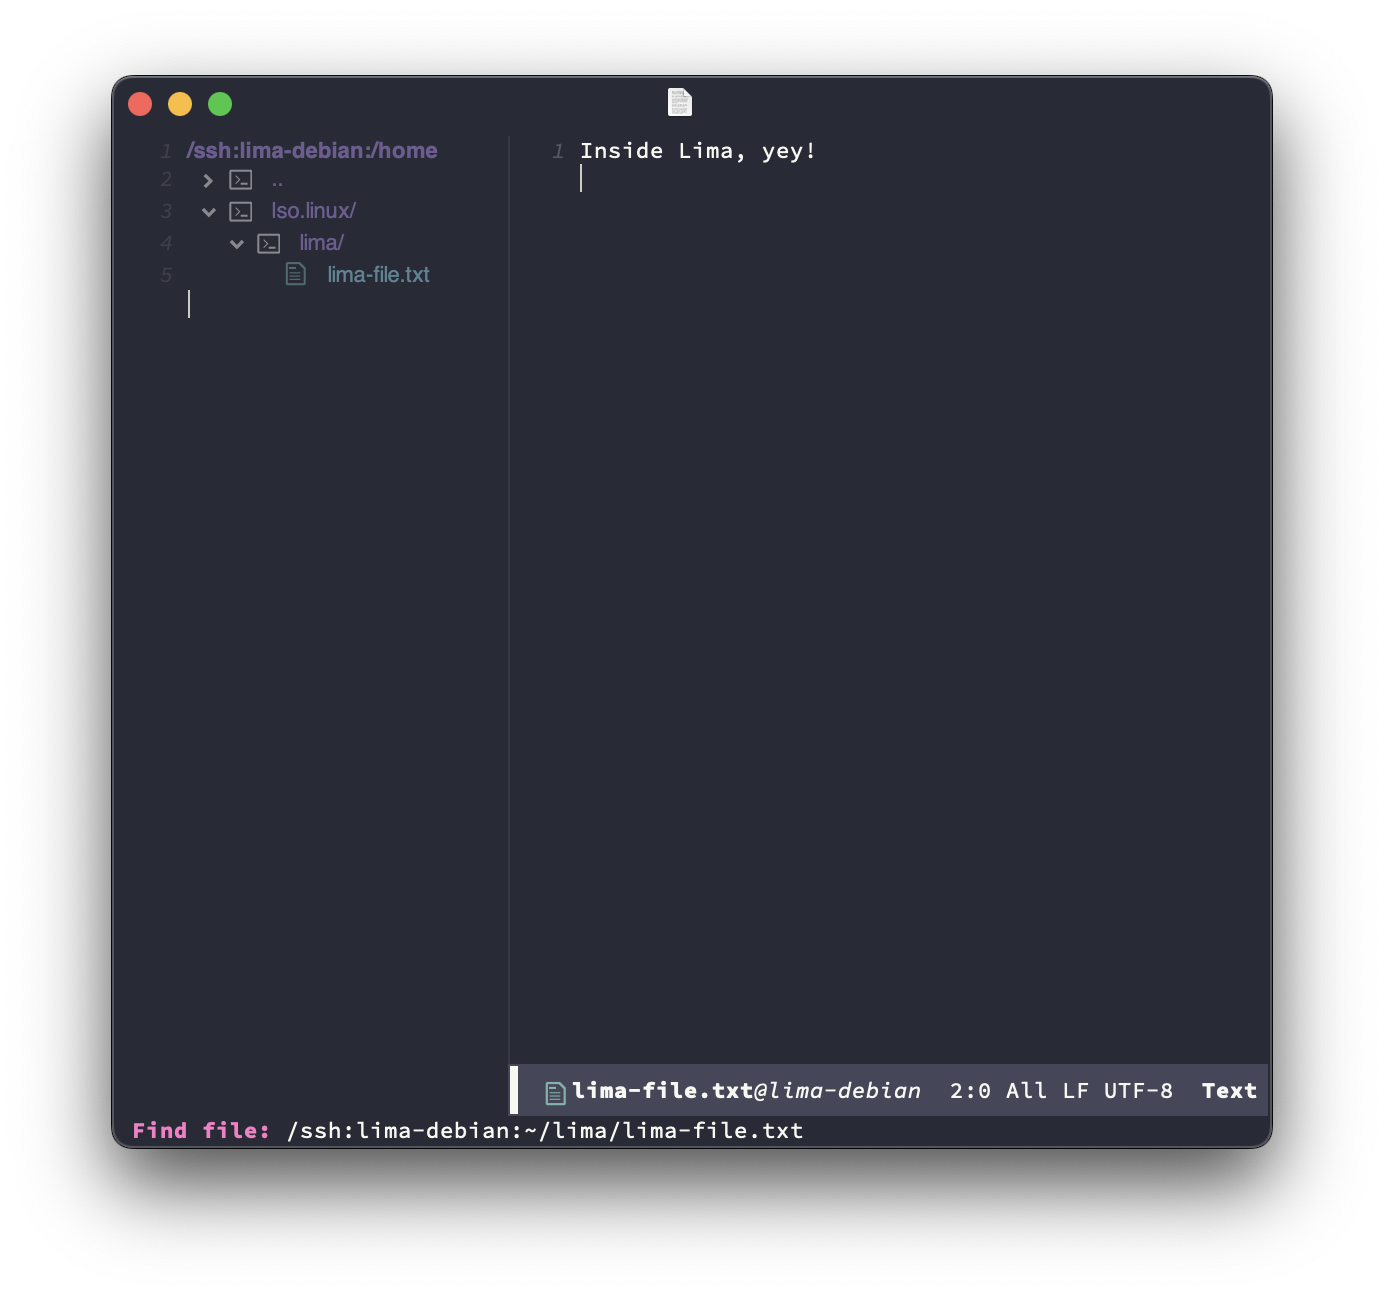
You can connect using TRAMP: Use the shortcut C-x C-f as if you were opening a
local file, but use this as the path:
/ssh:localhost#2022:<path>
If you are using other port than 2022, then replace it. Replace <path> by the
path of the file on the VM that you want to open.
If you added lima-debian to your SSH config, then you can use as path:
/ssh:lima-debian:<path>
Vim
Just use Vim on your VM :-)
Other editors/IDEs
If you are using other editors or IDEs, you’ll need to search how to remote
development works on it, and configure it for using SSH wit localhost as the
host and 2022 as the pot (or the one you have chosen).
Copying files
Now that you already have SSH, you can use scp to move files from the host to
the guest and vice-versa. It works like cp but it can copy files across
computers (in this case, a physical one and a virtual machine).
From the host to the guest:
# replace 2022 by the port you have chosen
mac$ -P 2022 scp my_file localhost:destination

# or, if you added the instance to .ssh/ssh_config:
mac$ scp my_file lima-debian:destination
And from the guest to the host:
# replace 2022 by the port you have chosen
mac$ scp -P 2022 localhost:my_file destination

# or, if you added the instance to .ssh/ssh_config:
mac$ scp lima-debian:my_file destination
Mounting Lima VM in you filesystem
It’s also possible to mount Lima as a drive through SSH, so you can seamlessly open files from the VM as they were located in your host machine. We can do that using SSHFS.
But be careful! This relies on MacFUSE, a port of FUSE for Mac. FUSE are a cool way to create fake filesystems on Linux, but Mac doesn’t support it by default. Then, MacFUSE is a kext (a kernel extension) that enables FUSE on the Mac kernel. In order to install it you need to disable some protections on Mac, so, proceed with caution.
You may find more information about how to install and configure MacFUSE and SSHFS here.
Once installed, create an empty directory somewhere in your Mac filesystem (I’m
using ~/sshfs/lima). Following the SSH setup that we have so far, you can mount the Lima root in your
filesystem by running:
mac$ sshfs lima-debian:/ <the directory you created>
It takes some seconds to mount.
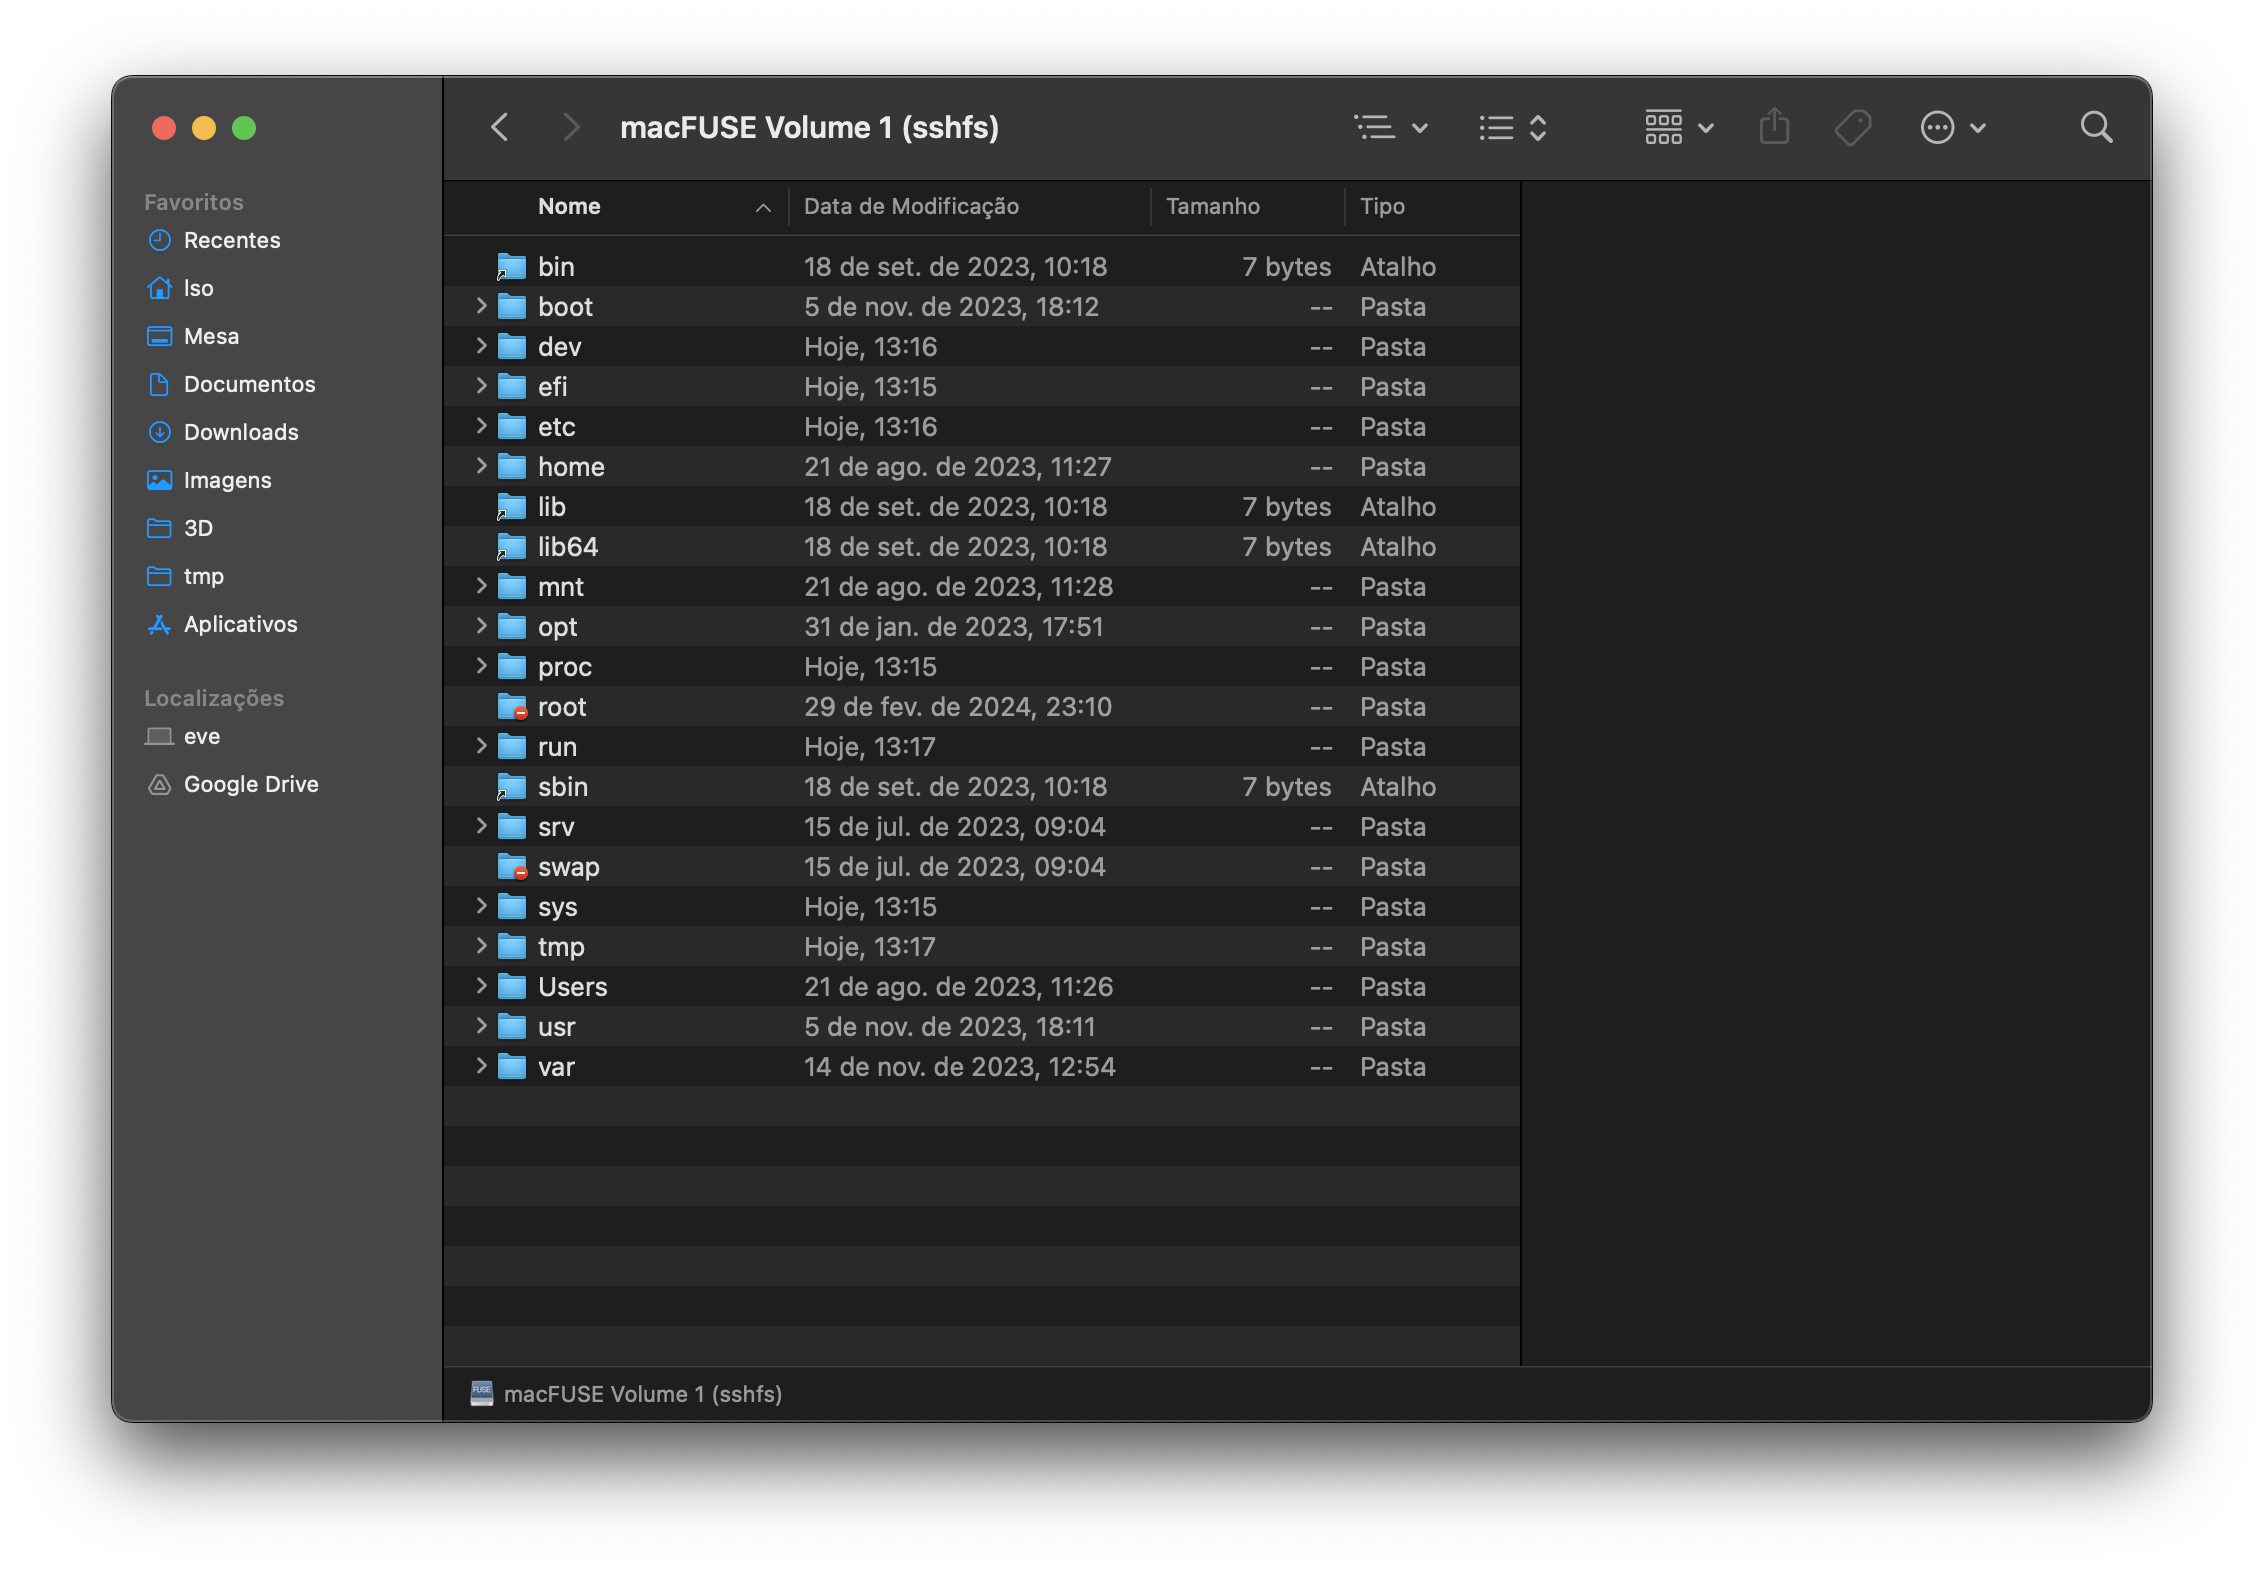
You can read more about sshfs by running sshfs --help. In my setup, I can
mount the Lima VM by running sshfs lima:/ ~/sshfs/lima. Then, if I open
~/sshfs/lima I can see the files from my VM: