PCDisplay
Github: https://github.com/lucasoshiro/pcdisplay
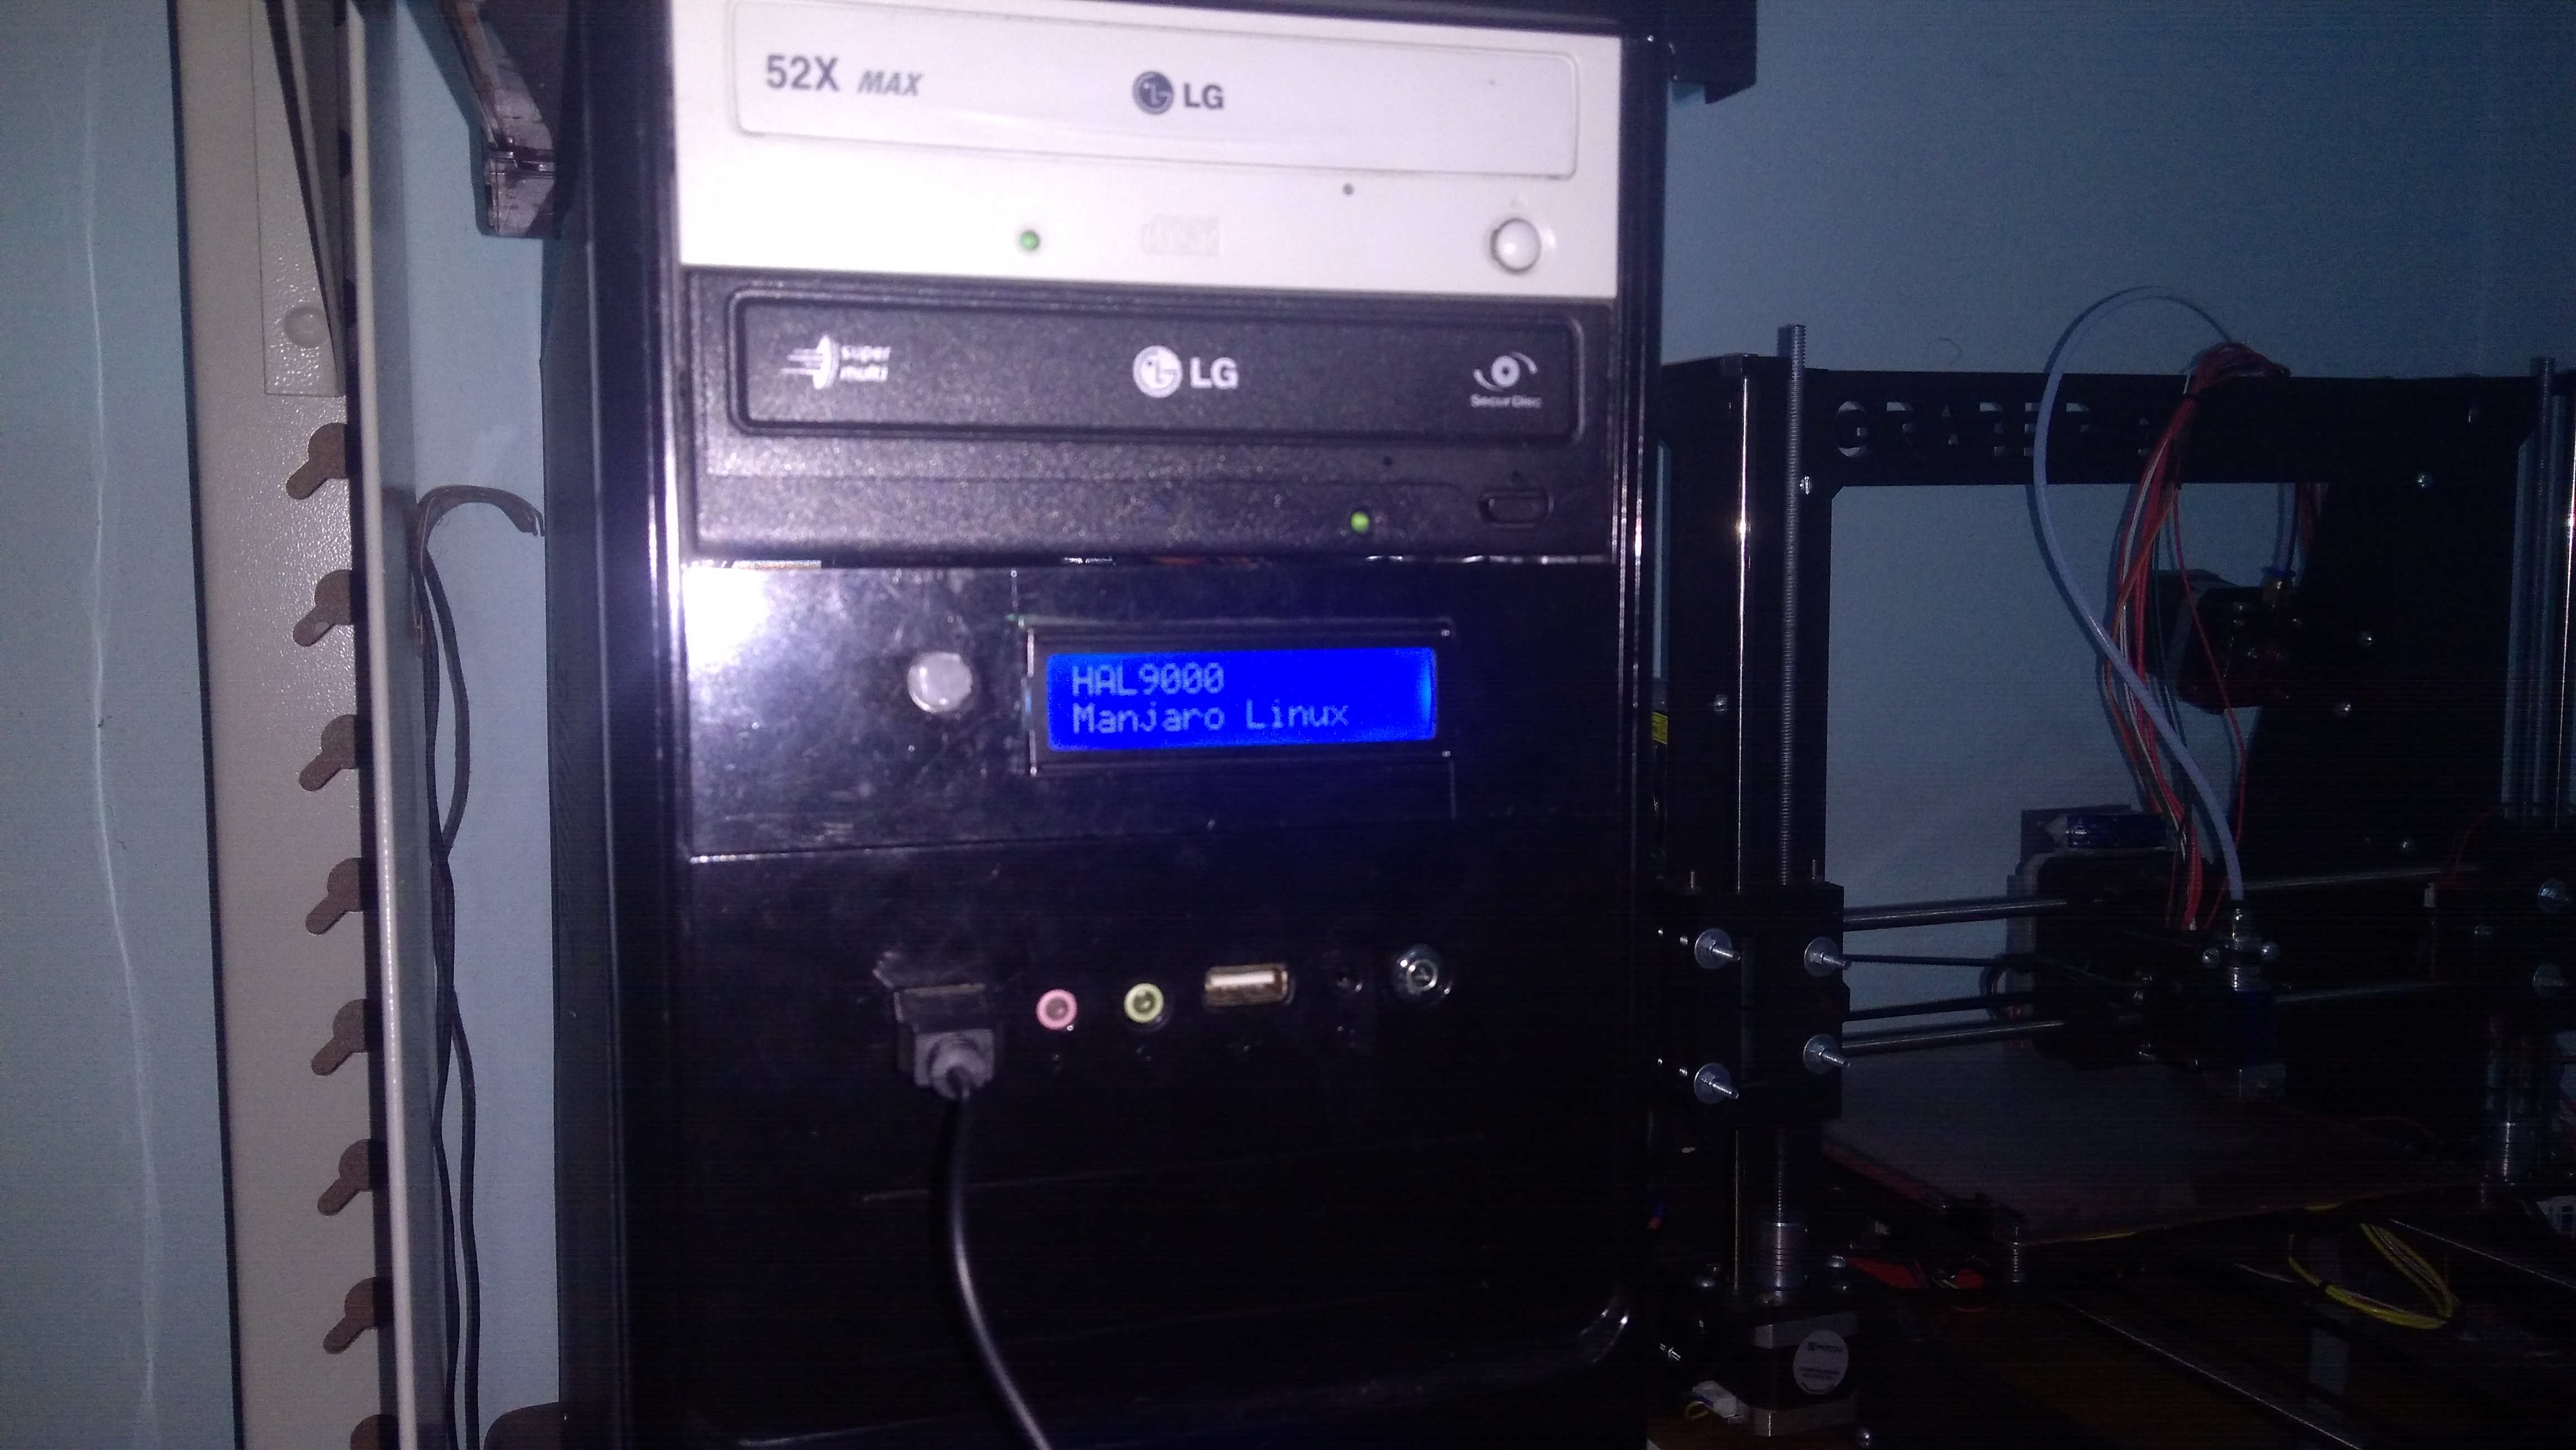
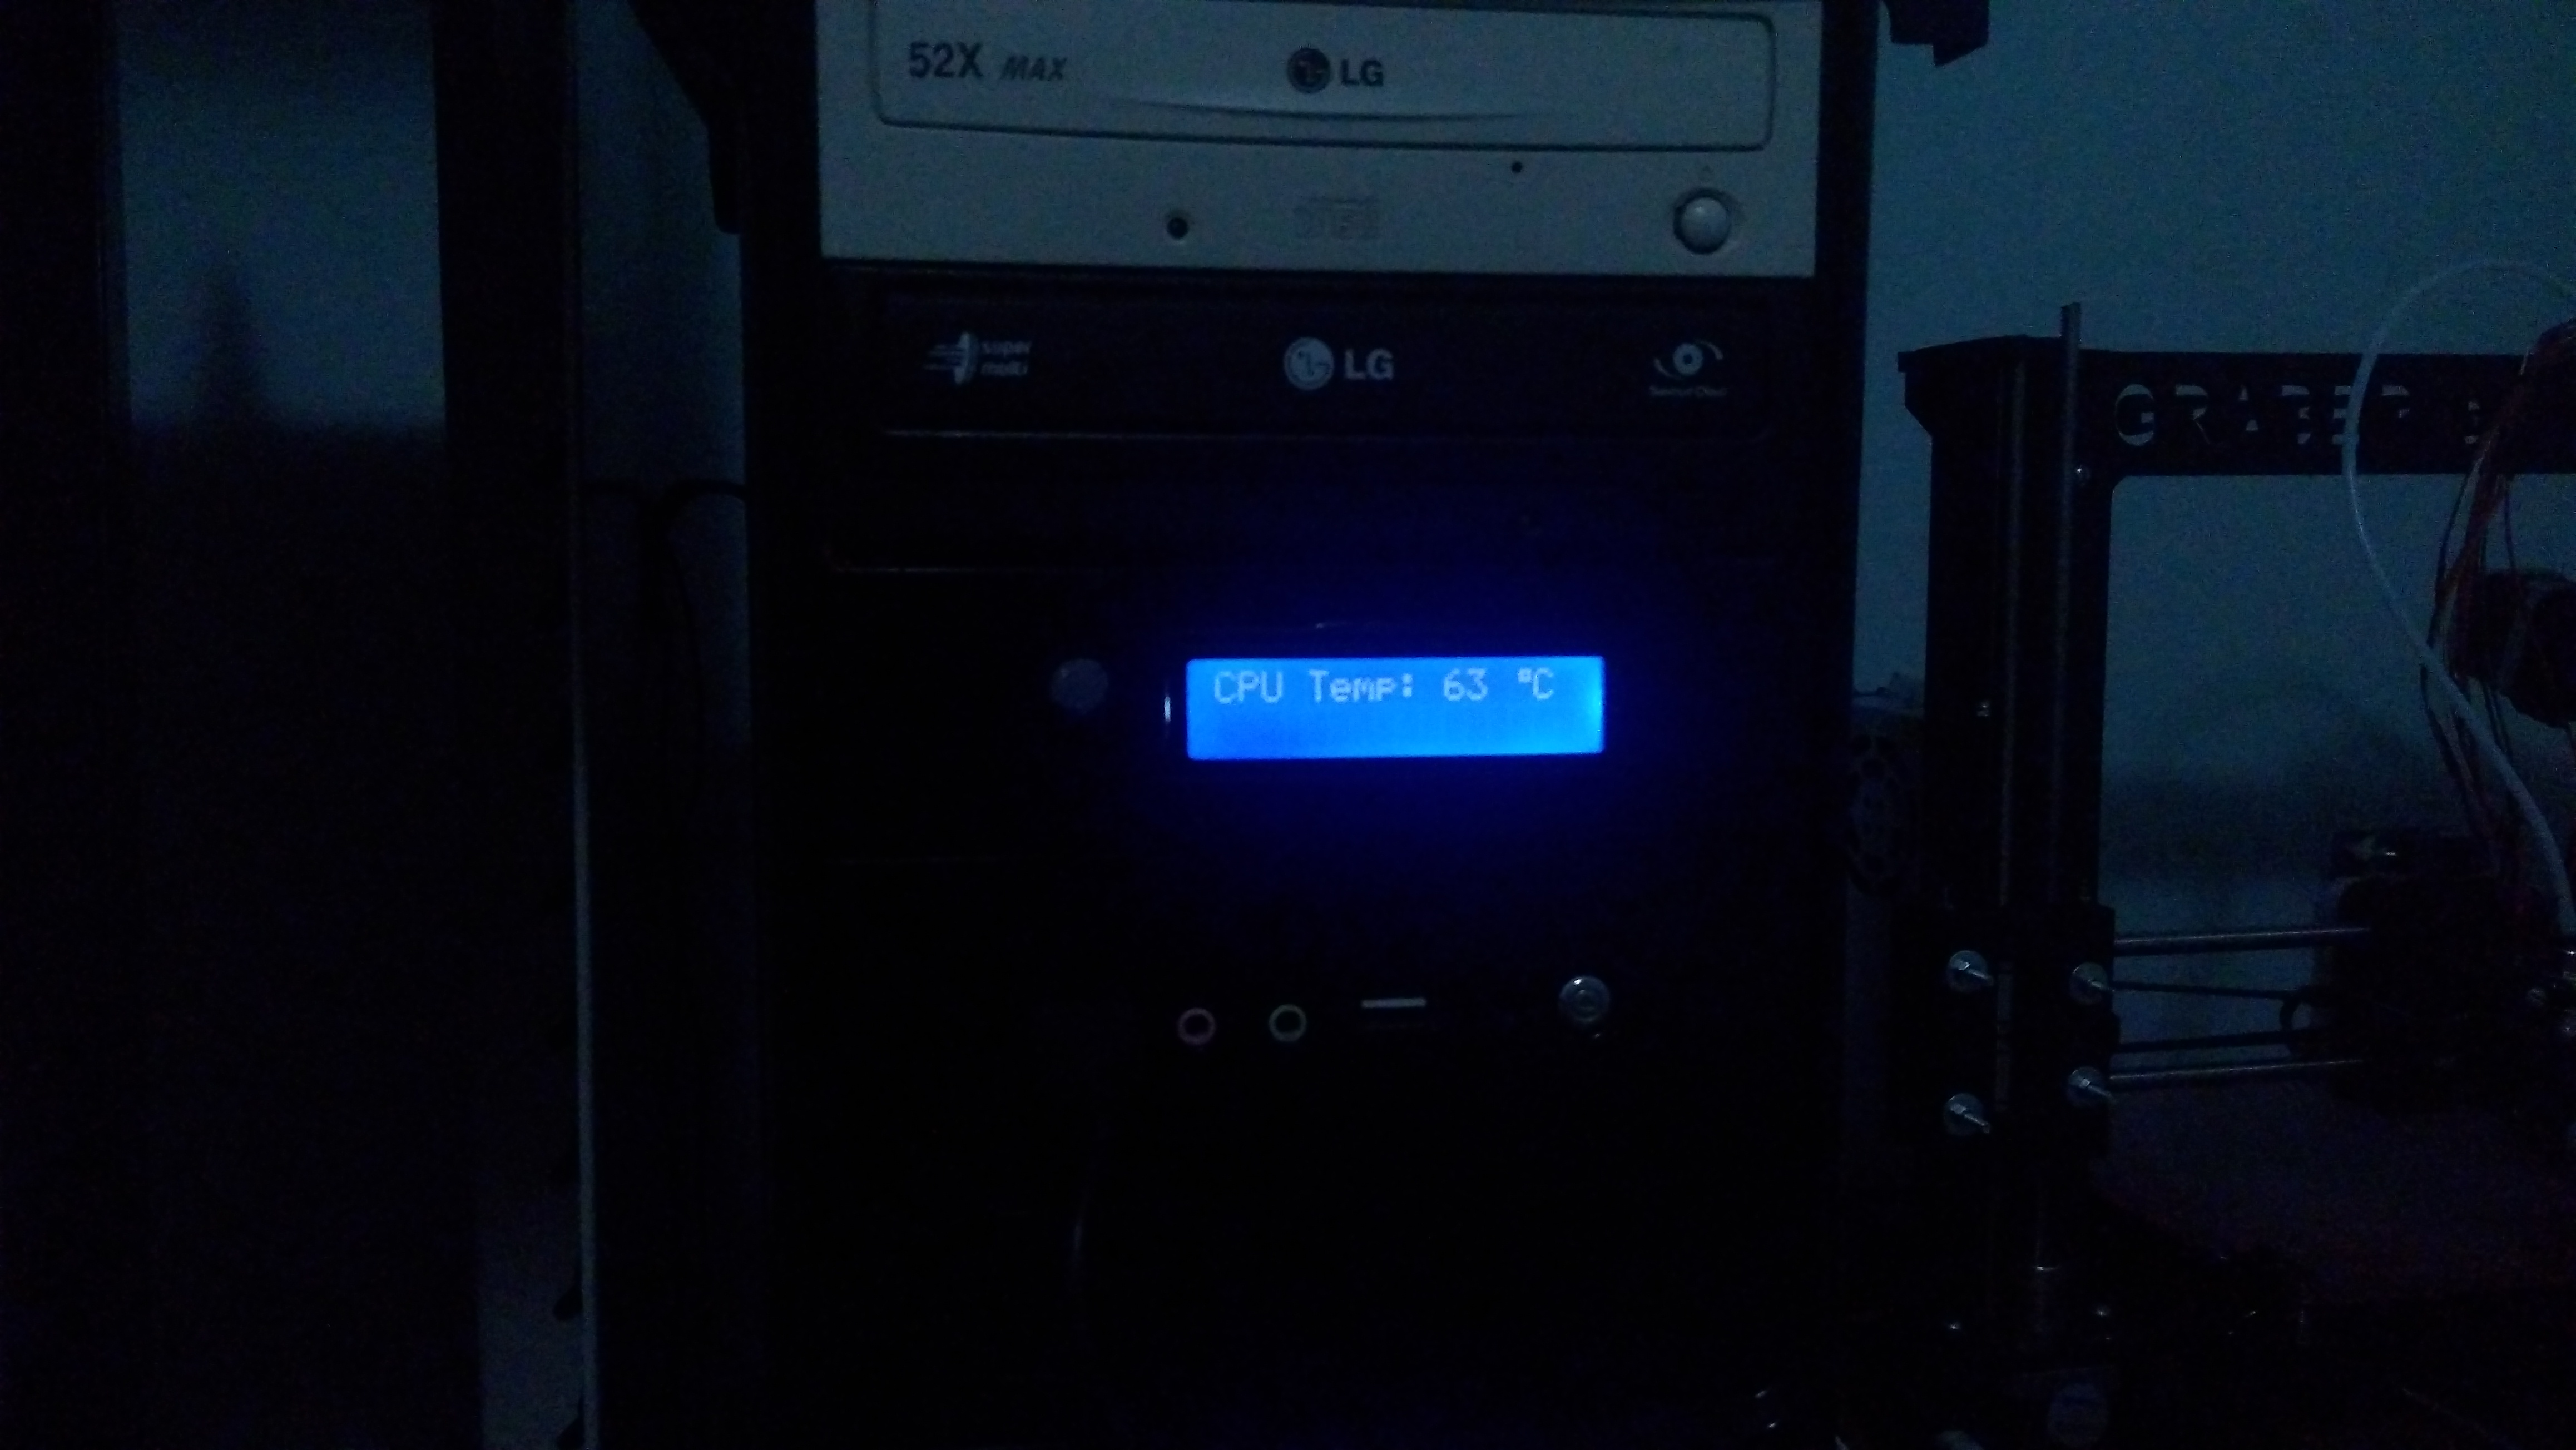
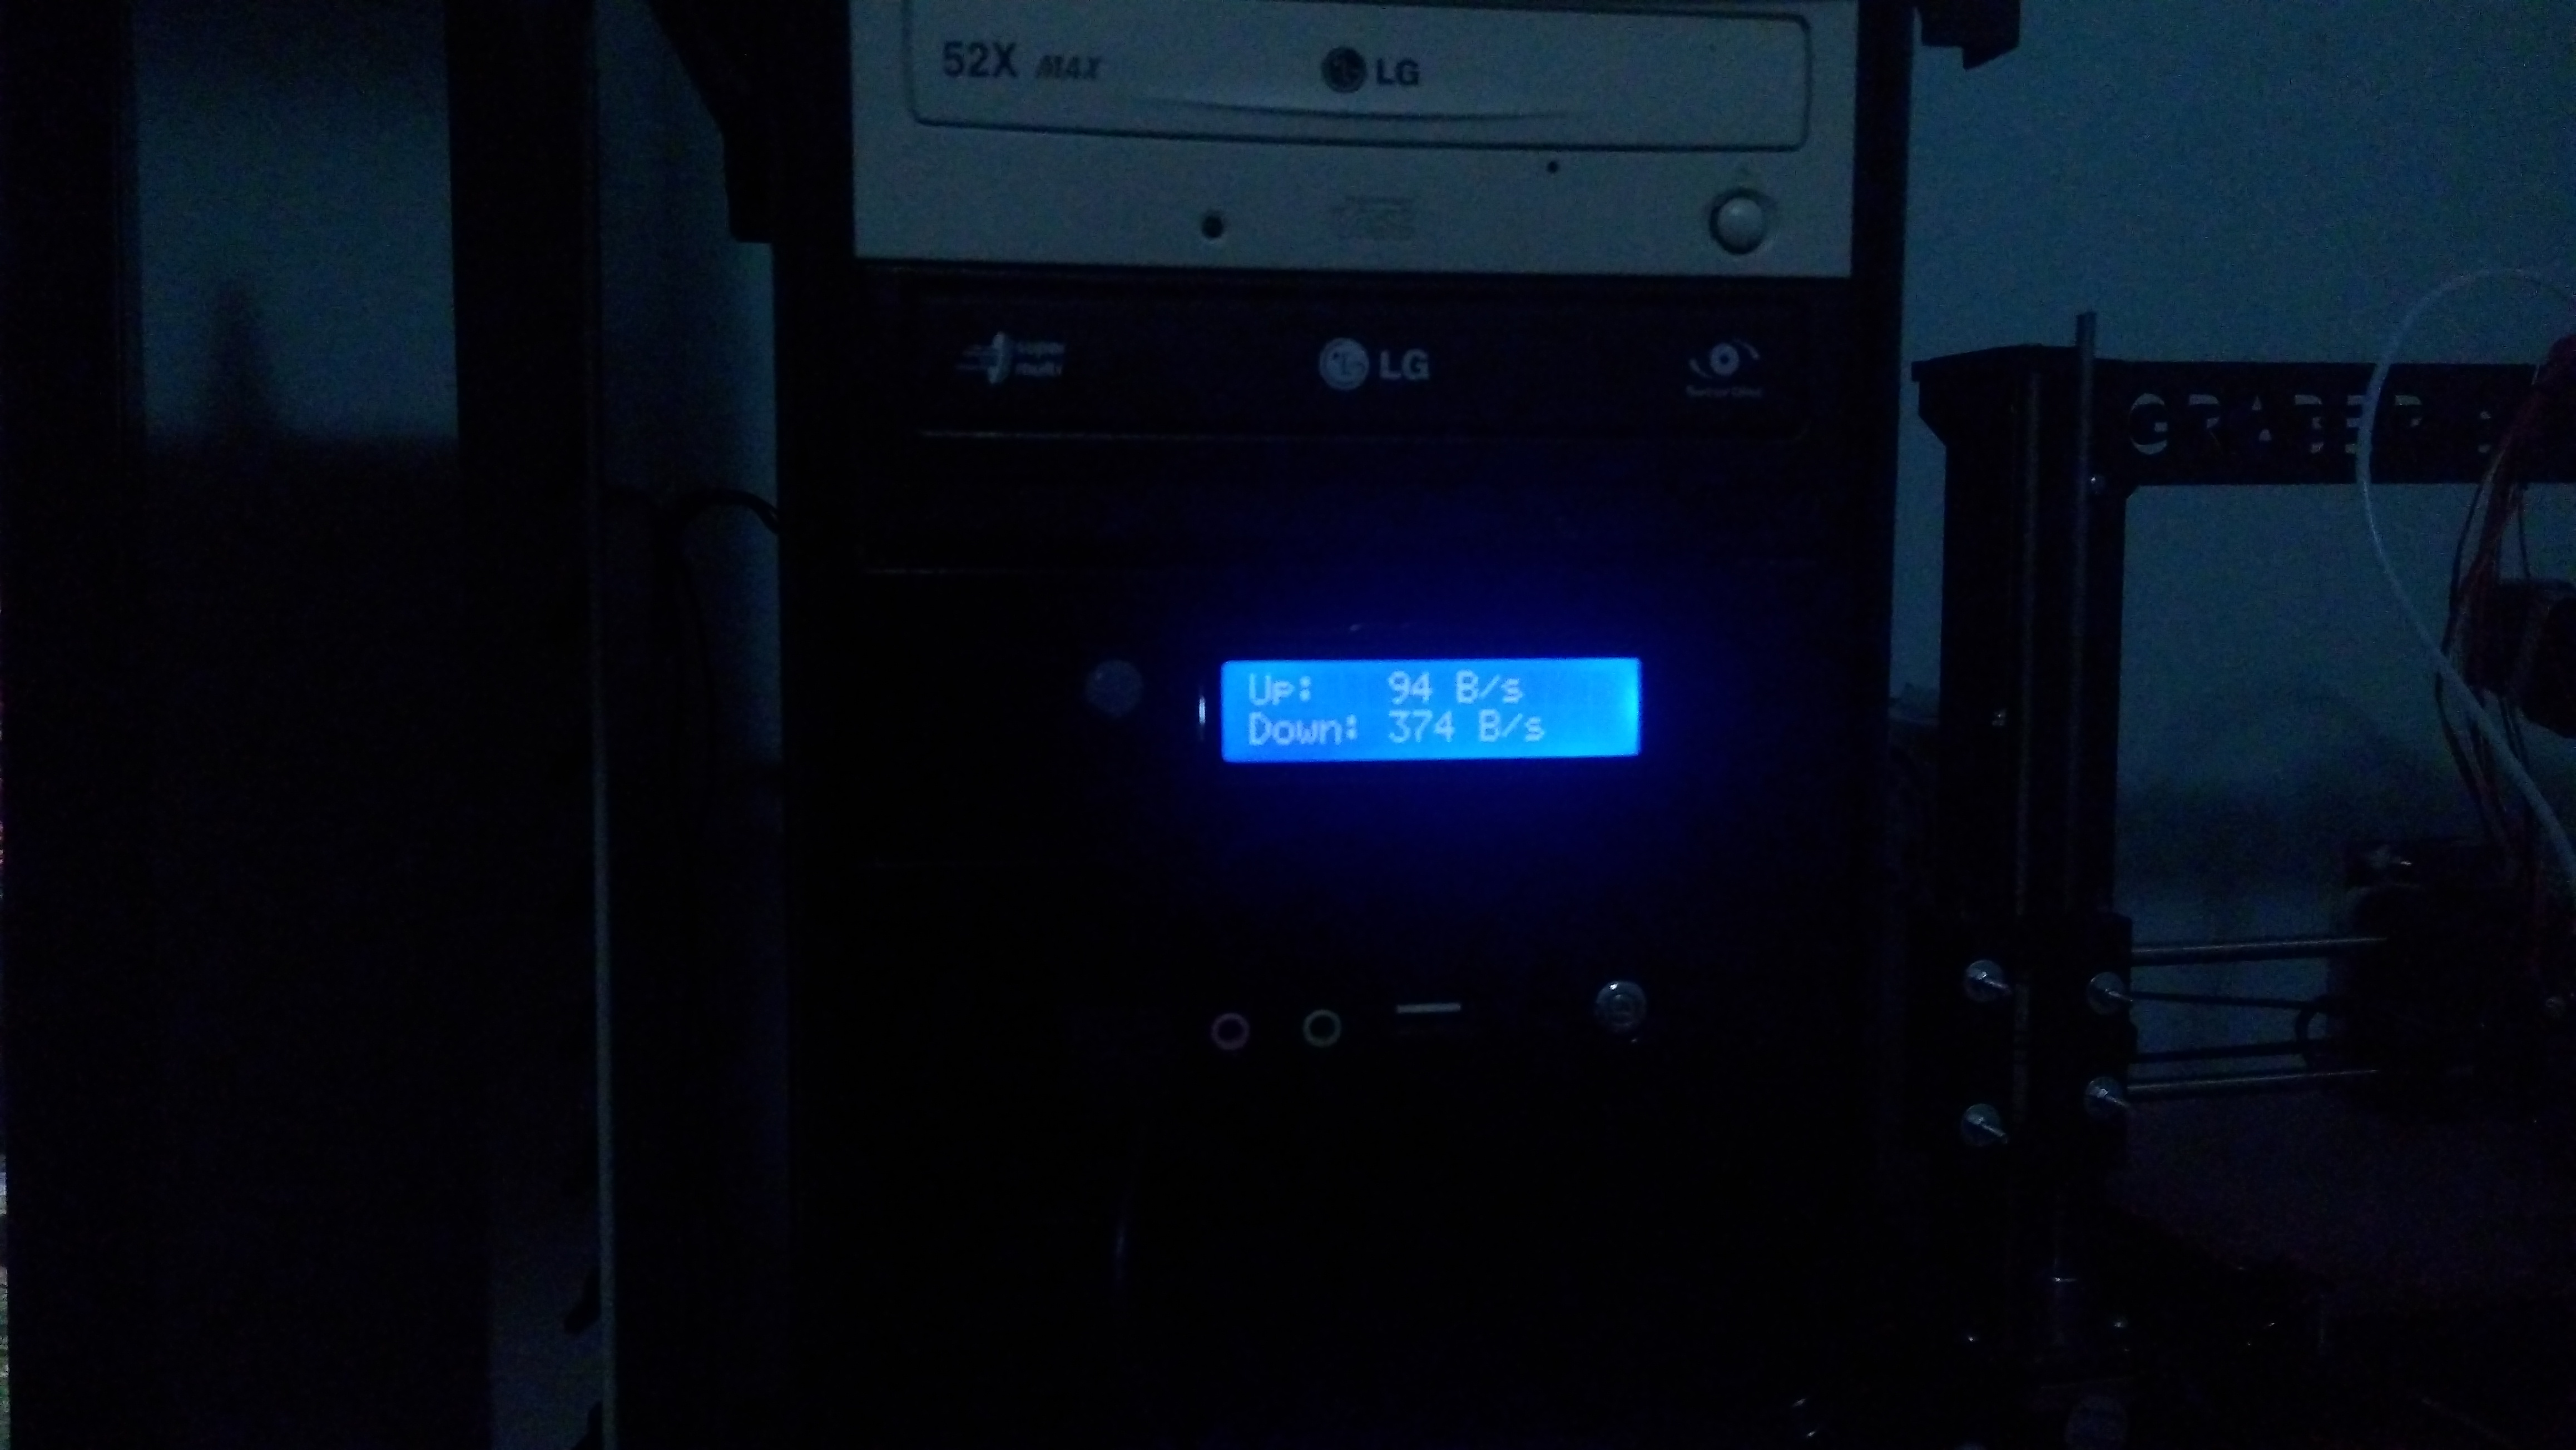
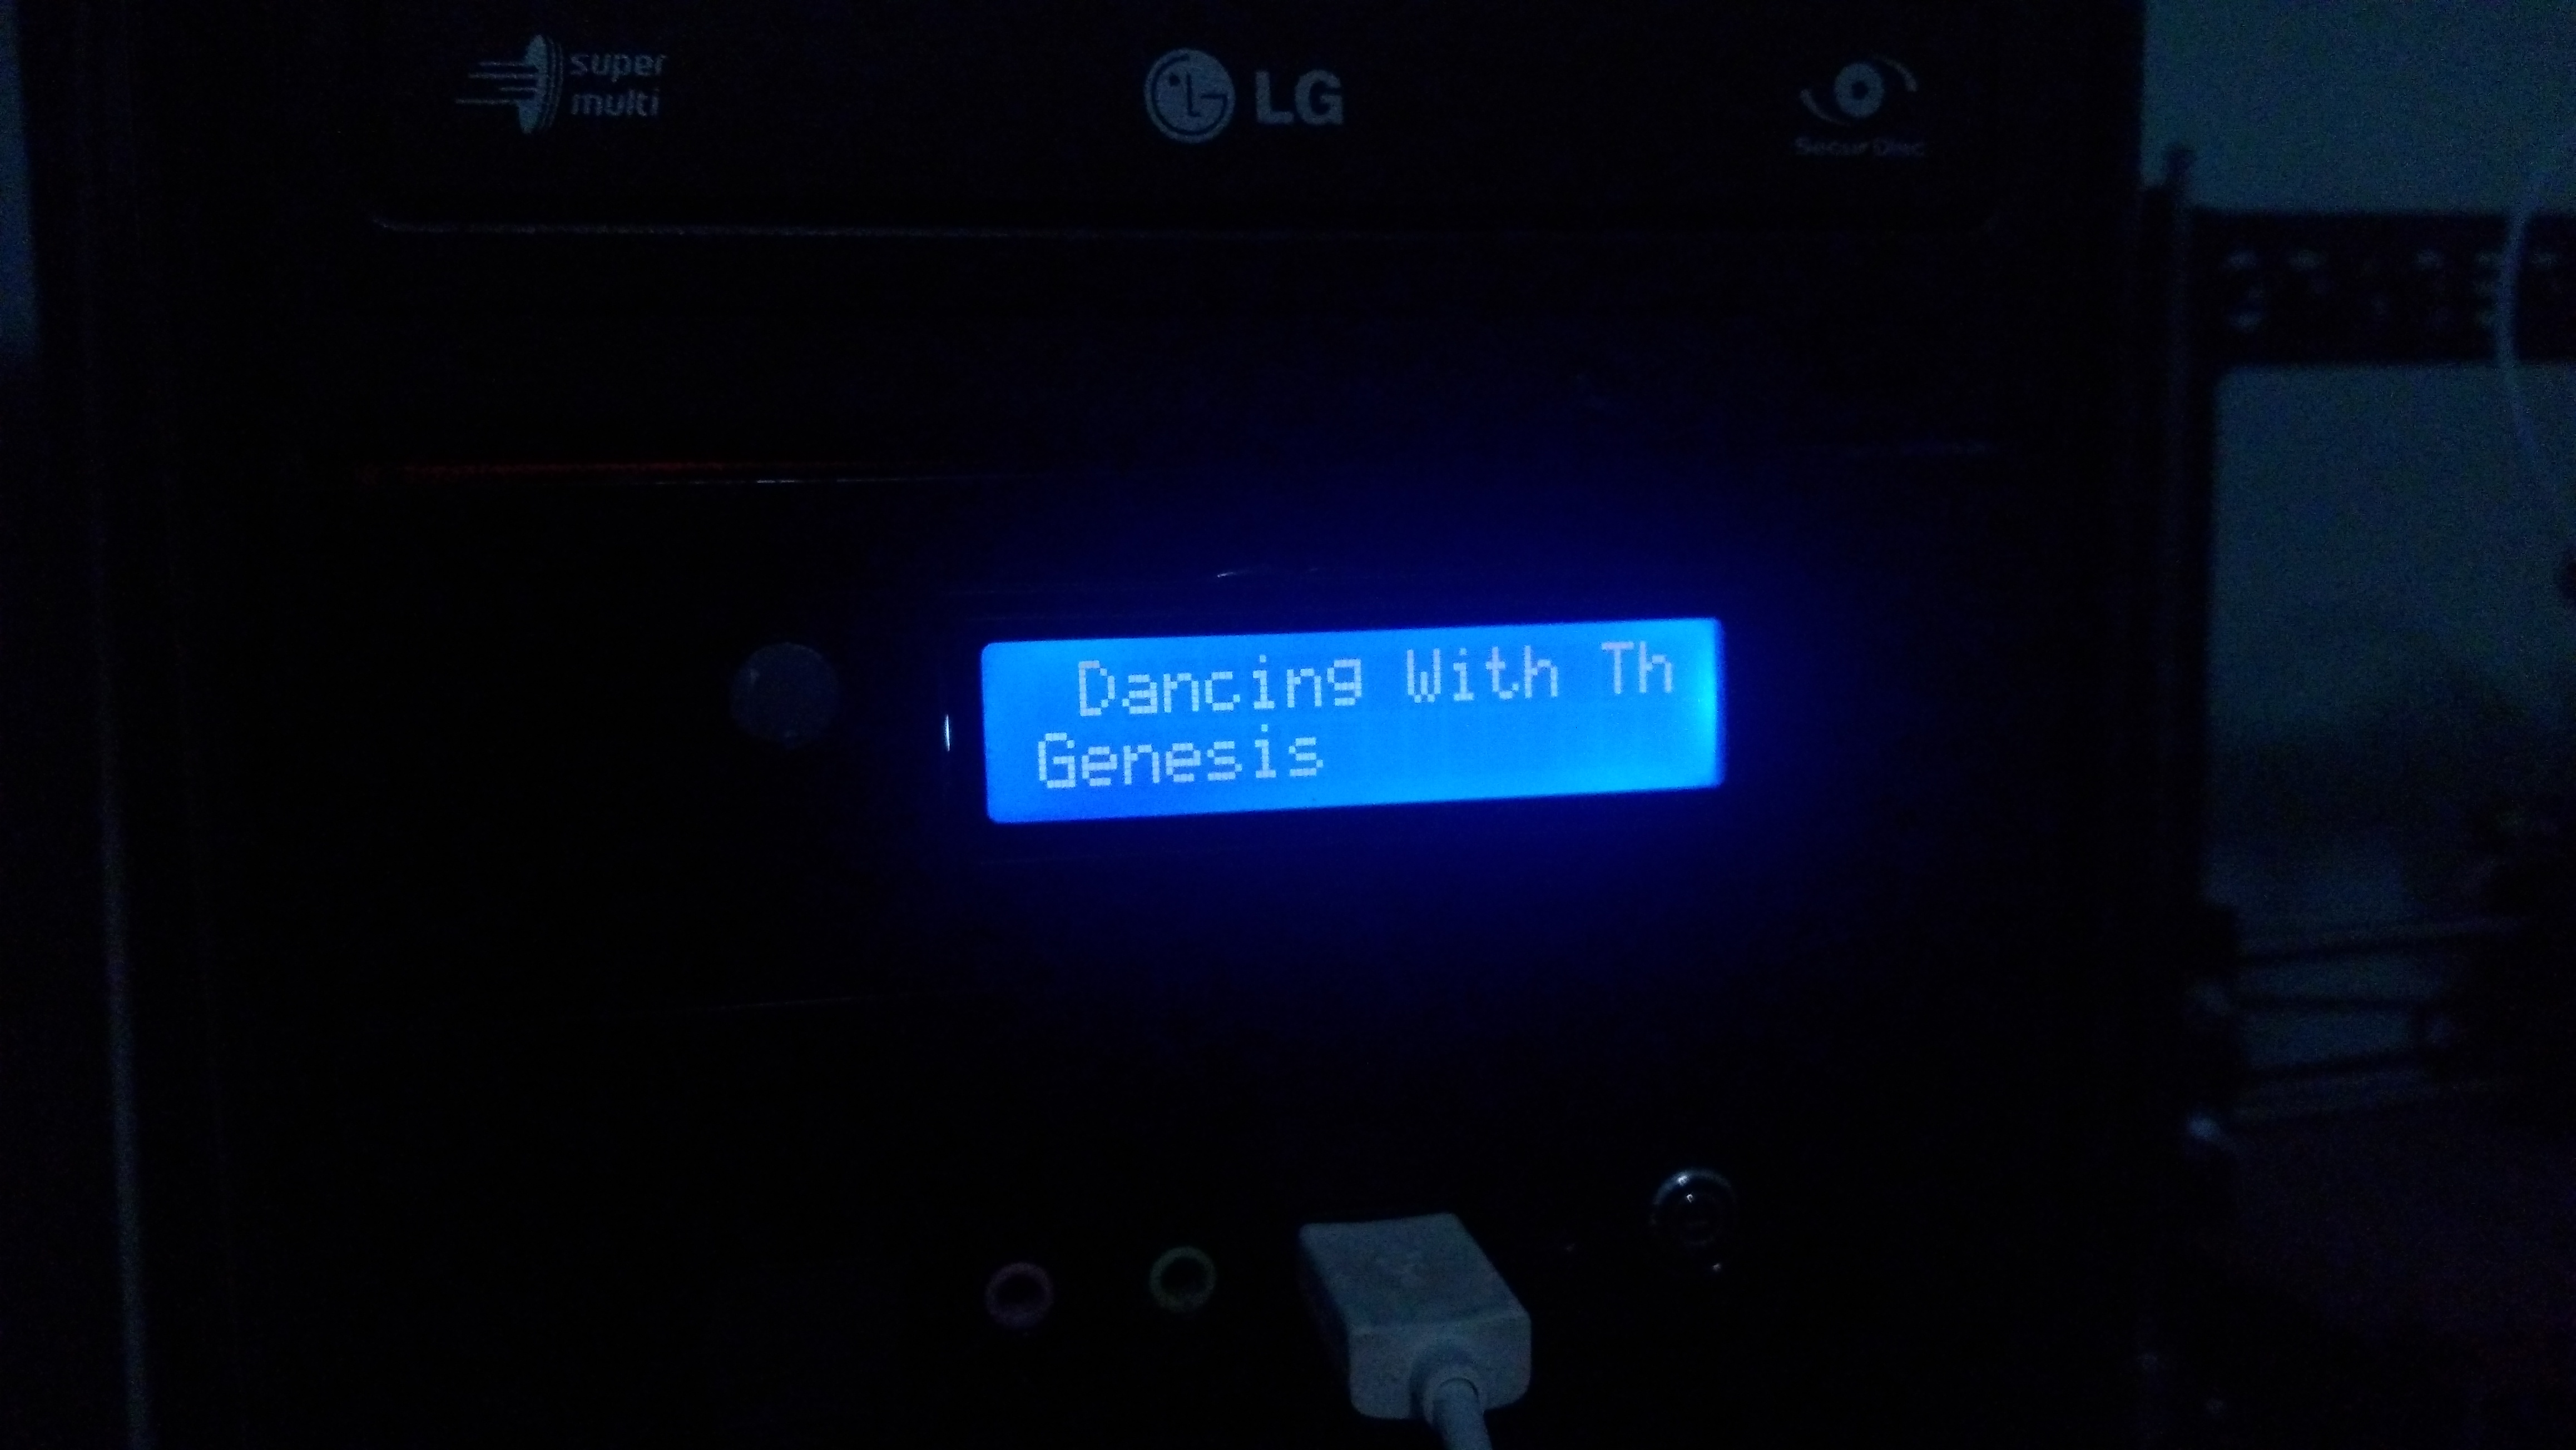
This is a side project where I placed a LCD display on my computer case, displaying the following information:
- CPU usage
- RAM usage
- Download/upload rate
- CPU temperature
- Date and time
- Hostname and operating system name
- Now playing (song title and artist)
The hardware was build using an Arduino Nano and a 16x2 characters display. In the Github repository, there is the host code, written in Ruby, that provide the system information to the Arduino, and the guest code, used by the Arduino to control the display.
Data flow
+------+           +---------+      Request      +------------+
|Button| --------> | Arduino | ----------------> |     PC     |
+------+           | (guest) |                   |   (host)   |
                   |         | <---------------- |            |
                   +---------+       Data        +------------+
                       |
                       |
                       |
                       V
                  +---------+
                  | Display |
                  +---------+
The format of the requests is REQUEST <arguments>, with the arguments
separated by spaces. An argument can also be between quotation marks, and can
be escaped the same way as bash does. The format of the responses is
REQUEST <data>, with the same name as the request.
PCDisplay Host
The host code runs on the computer and sends the data to the Arduino. It has the following files:
-
arduino_serial.rb: contains the Arduino class, that abstracts the library SerialPort; -
serial_server.rb: library that allows the creation of a server capable of processing a request sent by the Arduino and sending the requested data. Its syntax is based on the famous Ruby framework Sinatra; -
pc.rb: contains the singleton classPC, that centralizes several measurements of the computer, always quickly providing the requested data. Each measurement is executed in a different thread, updating thePCsingleton; -
main.rb: this file contains the definitions of the callbacks for each request, following this format:
request 'REQUEST_NAME' do
   data = get_data
   "REQUEST_NAME #{data}"
end
In other words, the data flow inside the host is the following:
+-------+    Request     +------------+      +--------+
|       | -------------> |SerialServer| ---> |        |
|Arduino|                +------------+      |callback|
|       | <--------------------------------- |        |
+-------+             Data                   +--------+
                                                  ^
                                                  |
                                            +------------+        +--------+
                                            |            | <----- | Player |
                                            |     PC     |        +--------+
                                            |            |
                                            +------------+ <----- +---------+
                                            ^ ^   ^   ^ ^         | Network |
                                            | |   |   | |         +---------+
                                      +-----+ | +---+ | +----+
                                      | CPU | | |RAM| | |Time|
                                      +-----+ | +---+ | +----+
                                              |       |
                                         +--------+  +-----------+
                                         |Hostname|  |Temperature|
                                         +--------+  +-----------+
PCDisplay Guest
PCDisplay Guest is executed on Arduino, and it works as a state machine:
+---------+         +------+          +-----+
| SYSINFO | ------> | TIME | -------> | CPU |
+---------+         +------+          +-----+
     ^                                    |
     |                                    V
+-------+     +-----+      +------+     +-----+
| MEDIA | <-- | NET | <--- | TEMP | <-- | RAM |
+-------+     +-----+      +------+     +-----+
Each state has a associated screen update function, that reads the desired
information contained in the global struct INFO, and show it on the screen.
The main loop do the following actions:
-
If a state change is scheduled, it changes the state. Otherwise, it stays on the same state;
-
Sends a request from the list of requests;
-
Waits for the result and updates the struct
INFOwith the incoming data from the computer. If it timeouts, it considers that the connection was lost, and it tries to reconnect; -
Shows the information on the screen, executing the associated function.
A state change is scheduled when the button is pressed. That event triggers an interruption that sets a flag that signalizes that in the next cycle the state must be changed.
Gallery


Update (10/2021)
After some time, the display stopped working and I decided to replaced by a new one, with a graphical 128x64px display. This new display is able to show all the information in a single screen, so, it doesnt’t need the state machine and the button anymore.
The rest of the code remains the same.
